Sunday, February 27, 2011

Chicken Saltimpanda

I was going to begin this post with "I've never had sage", but before I even got there I was informed that I have, in fact, had sage. Apparently the wonderful Mrs. Ballard, my almost-mom from South Carolina, puts sage in her Thanksgiving stuffing, which I've not only had but loved. I can safely say, however, that I've never cooked with sage before now. I was excited when I decided to make saltimbocca (original recipe here) to get the chance. 

I was not prepared for sage to be fuzzy. I mean, I knew it was going to change texture when it was cooked, but I found the fuzziness really off-putting. I also wasn't hugely excited about the aroma of it. 

Er... hmmm.

Then there was the lemon issue. I mean, if you look at the original recipe link, it does specify that it is "lemony", but I'm not sure I was prepared for quite that much lemon. Don't get me wrong- I love lemon. In fact, I love lemon so much I made a little song about how much I love things lemony. (Disclosure: I make up little songs about pretty much everything that makes me happy. Can't help it and no I won't sing any of them for you. Except maybe the cheeseburger song. But not right now.) Anyway, it was too much lemon, which really took away from the flavor of the ham. And it turns out I don't like the flavor of sage either (unless it's in Mrs. Ballard's amazing Thanksgiving stuffing). 

But I really liked the idea of the saltimbocca. Ham? Chicken? (Some) lemon? This all sounds fantastic! Surely I could find a way to make this work.

So I changed a few things around and decided to make Saltim-panda! I used tarragon instead of sage. Tarragon is one of my favorite herbs. It has a slight anise flavor, which is quite different from the tart sage flavor. I also cut the sauce with a sweet white moscato wine, which emphasized the lemons without letting them overpower the ham. To accommodate the extra liquid, I doubled the cornstarch (I had found the original sauce too runny anyway). I also added capers. Cause why not?

Ingredients:
Chicken breasts
Salt & pepper for seasoning
3 tablespoons olive oil
Pancetta 
Fresh tarragon 
1/4 cup lemon juice
1/4 white wine
1/2 chicken broth
1 teaspoon cornstarch

Start off by pounding out your chicken so it's flat as possible. If you don't have a mallet, use anything solid and heavy. I used our sugar jar. Oh yeah, wax paper keeps things from getting messy. 


Layer the chicken breasts with fresh tarragon. 


Then wrap in pancetta. Place chicken breasts in a saute pan with olive oil that has gotten nice and hot. Cook about 3-4 minutes on each side. 

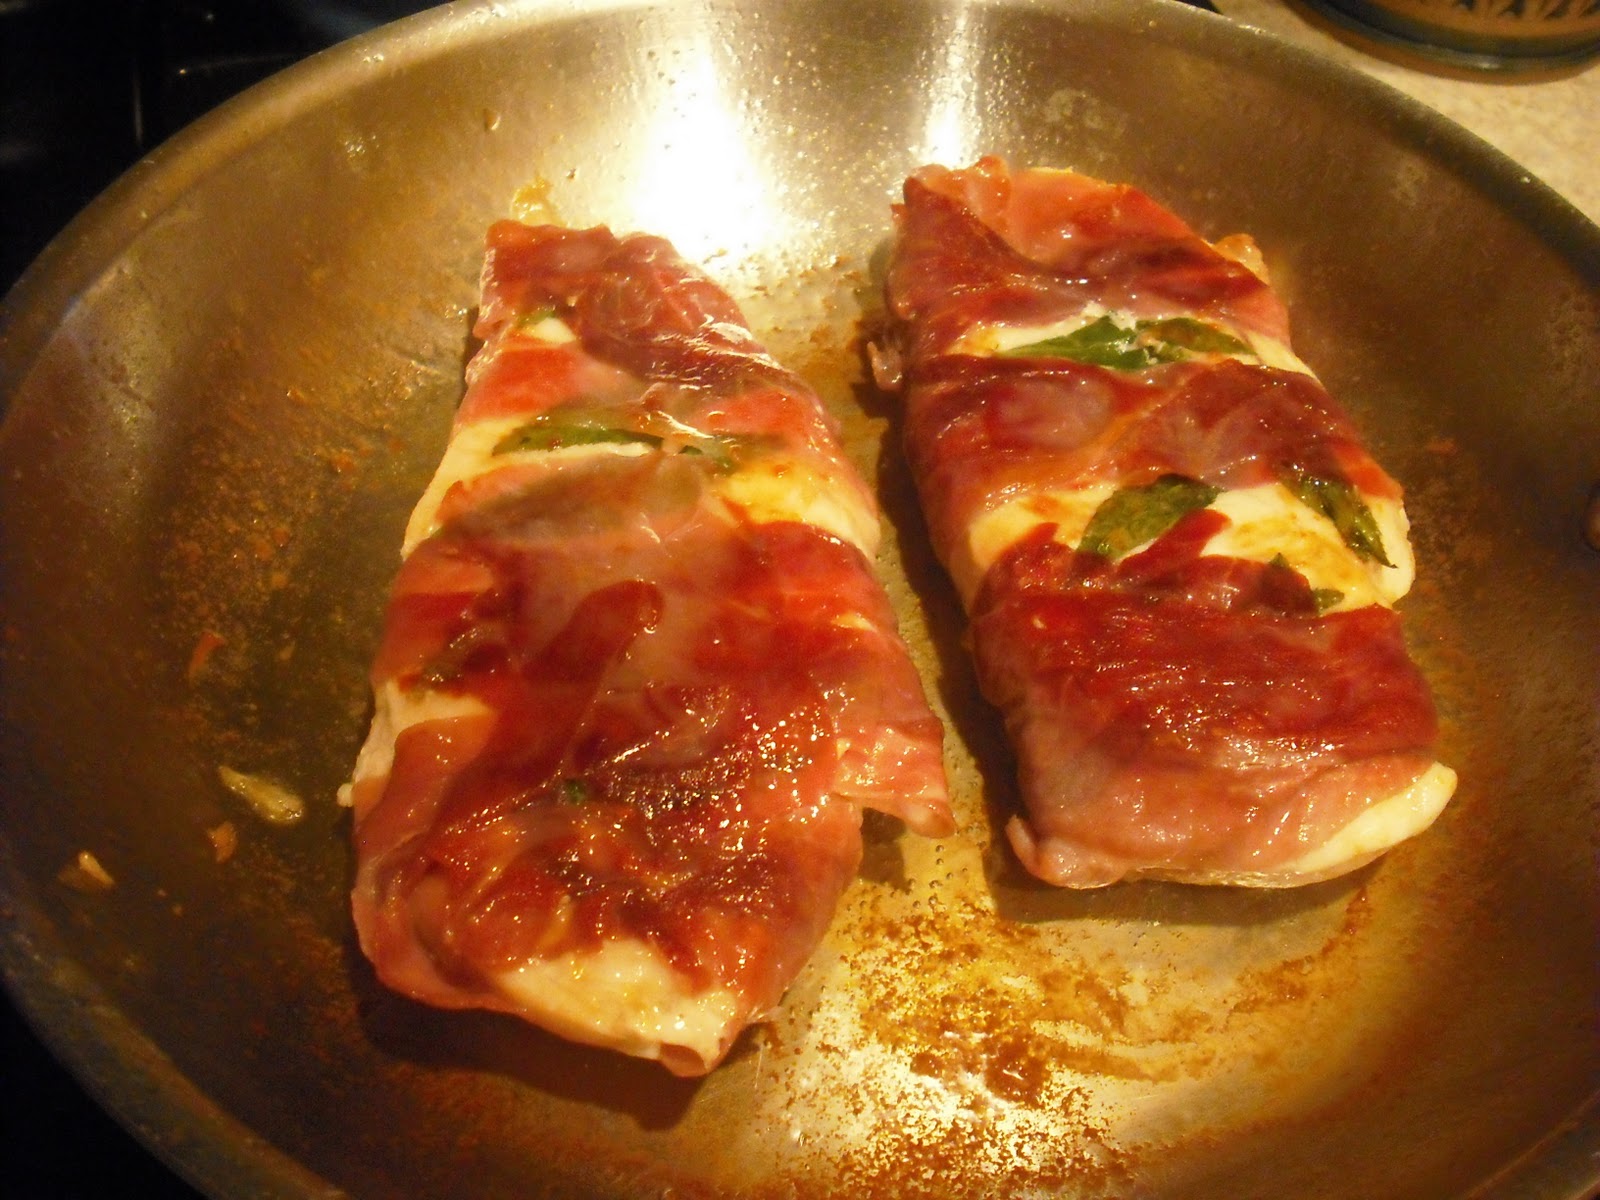
It's possible I got a little ham-happy.

While the chicken cooks, combine the wine, broth and lemon juice in a bowl with the cornstarch. Whisk together and then add a few shredded tarragon leaves and the capers. When the chicken is done, remove from the saute pan and set aside (preferably someplace warm, cause my chicken kept getting cold while I was making the sauce). Add the broth mixture to the saute pan and bring to a boil. Boil for one minute while continuing to stir. 

Let sauce stand for approximately one minute until it thickens, then pour over the chicken breasts and serve.


Was Saltim-panda better than the original saltimbocca in the end? I think this says it all....


Thursday, February 24, 2011

Roasted Pears with Marscarpone

Hey look! It's my first dessert post!

Sometimes using the wrong ingredients works out pretty well. As far as I can tell this is never the case with baking, but it worked out great when I recently made Roasted Pears with a mascarpone sauce. (Original recipe here.)

I didn't have heavy whipping cream or amaretto, so I used half and half and Tuaca instead. The result was a sauce instead of a whipped cream, but still, just delicious delicious delicious.

4 pears, split down the middle and cored (I used bosc, but use your favorite variety).
Some lemon juice for sprinkling
1 tablespoon of sugar (flavored with your favorite extract or just left plain, I used vanilla)
2 tablespoons of water
2 tablespoons of butter, seperated into four even pats

Place the pears fleshy side up in a roasting pan and sprinkle with lemon juice and sugar. Top each half with a pat of butter. Place water in the pan. Roast on 375 for 30 minutes. Turn the pears over and roast for 30 more minutes.


For the mascarpone sauce:
1 cup of marscarpone
1/4 cup of powdered sugar
1 cup heavy whipping cream
2 tablespoons liquor for flavoring (whatever you think will go best with a pear, I used Tuaca)

Super blurry picture, sorry. Was I drinking the Tuaca too much? Is it a better story if I say yes?

Combine all above and beat until smooth.

I wrote down the whipping cream, even though that's not what I ended up using. I probably should have, because the half and half I used left everything liquidy. Oh, and I probably should have measured. I think I used way more liquid in the mascarpone than was necessary.(See this is why I do not bake!) I considered adding more sugar to dry it out, but I tasted it and was immediately convinced it was just fine and needed to get on my plate right at that very moment. So I ate it. No really, I used a spoon. I even took a spoonful down to Mr. Panda. Then I put it on the pears and ate it all together. Delicious (and probably prettier if you use the right ingredients).

Thursday, February 17, 2011

Cheap and Easy

Not everything new to my kitchen requires an innovative recipe and a near-alchemical process resulting in delicious food. Some things that definitely count as "new to me" just require me realizing that that oh-so-simple, oh-so-yummy food that I love and am willing to shell out for at a restaurant is super simple to make at home.

Case in point: caprese panini.

Caprese, often served without the bread as a salad, is usually just mozzarella, basil and tomatoes. The key to any recipe that requires such simple ingredients is to get quality. When you only have four or five elements going into a dish, each of those elements should be the best you can get.


I couldn't find any flat panini-type bread, so I ended up using a soft roll with a very crispy exterior. What a good decision that turned out to be! 

This might seem like nothing, like hardly even worth writing a blog post about, but when you can produce something this good out of your own kitchen for WAY CHEAPER than what you would pay at the store for it, I say its worth sharing. 

Again, mozzarella, basil, tomatoes, good bread. Squish and grill like this


Nom like this


Thursday, February 3, 2011

Pumpkin Mac & Cheese!

This week we turn our attentions to another of Mr. Panda's less favorite foods- the pumpkin. While he's not as averse to pumpkin as he is to broccoli, he doesn't get quite as excited about the delicious orange gourd as I do. Just before he left for the week I asked him if he was least likely to eat Pumpkin Mac & Cheese or Pumpkin Gnocchi.  The blank stare I got in return clearly told me that he wouldn't be sad to miss out on either. Given that this was a very tough week (not only did I change jobs, but my new workplace was relocating so I was helping with the move... AND I have a paper due) I decided on the less-effort-required mac & cheese.

I'm of the personal opinion that cheese should be its own food group. This recipe calls for three- THREE- different cheeses; one soft and flavorful cheese; one medium texture melty cheese; one medium texture strong flavor cheese. Of course, with three different kinds of quality cheese, this recipe is not exactly cheap. Also, do you have any idea how hard it is to find canned pumpkin when it's not Thanksgiving? Ridiculously hard. I ended up paying $3 for a small can of organic pumpkin. And since it's February, it's not like I even had the option of cooking and pureeing my own (not that I would  have if I could have cause, well, I'm lazy). To top it all off,  I went shopping for the ingredients on Sunday evening, which is apparently when everyone and their mother is at the grocery store.

Between the price and the fight to get these ingredients, this had best be some damn good mac & cheese.

Know what? It was.

It was cheesy and pumpkiny, and not at all too-sweet. If you look at my ingredients and the ingredients in the original linked recipe, you'll notice I used way more cheese and totally different spices. I know when pumpkin is involved people tend to auto-grab the nutmeg and cinnamon. C'mon, you don't get enough of that in October and November? Try something else. Like Cardomom! (My favorite of all spices, by the way.) I also used garam masala, which is an Indian spice blend that I like a lot. I think one of my favorite parts of this dish was putting different spices in just to see how it would all come out. I encourage you to try even different spices- like maybe a curry!


What's in this?
- 1 box of pasta (I used elbows, but any short shape'll do!)
- 1 can pumpkin puree
- 1 cup half & half (non fat ok)
- 1 1/4 cup of creamy cheese such as brie or camembert
- 1 cup sharp cheddar
- 1 cup emmanthaler
- 1/2 tsp cardamom
- 1/2 tsp garam masala
- 1/4 tsp Kosher salt 
- 1/4 tsp pepper

What did you do to it?
- Cook pasta in boiling water til al dente
-Whisk pumpkin with milk in a medium to large saucepan over medium heat until hot, then reduce to low and add cheeses a little at a time until all melted.

Sauce should look like this before all cheese is melted, only less sideways. Hmm...

- Once the sauce is smooth and all the cheese is melted, mix in your spices.
- Taste the sauce. Add more of whatever you'd like - even CHEESE!
- Drain pasta and return to pot
- Pour cheese sauce over pasta and mix it up until cheese is everywhere!

I know that pumpkin + pasta + cheese may not sound all that appealing to some people. But! It was so delicious. You should try it. Be adventurous! Unfortunately, I need to master how to cook for just one or two people, cause I think I could have fed an army with this recipe. Anyone want some pumpkin mac & cheese? The leftovers aren't bad!